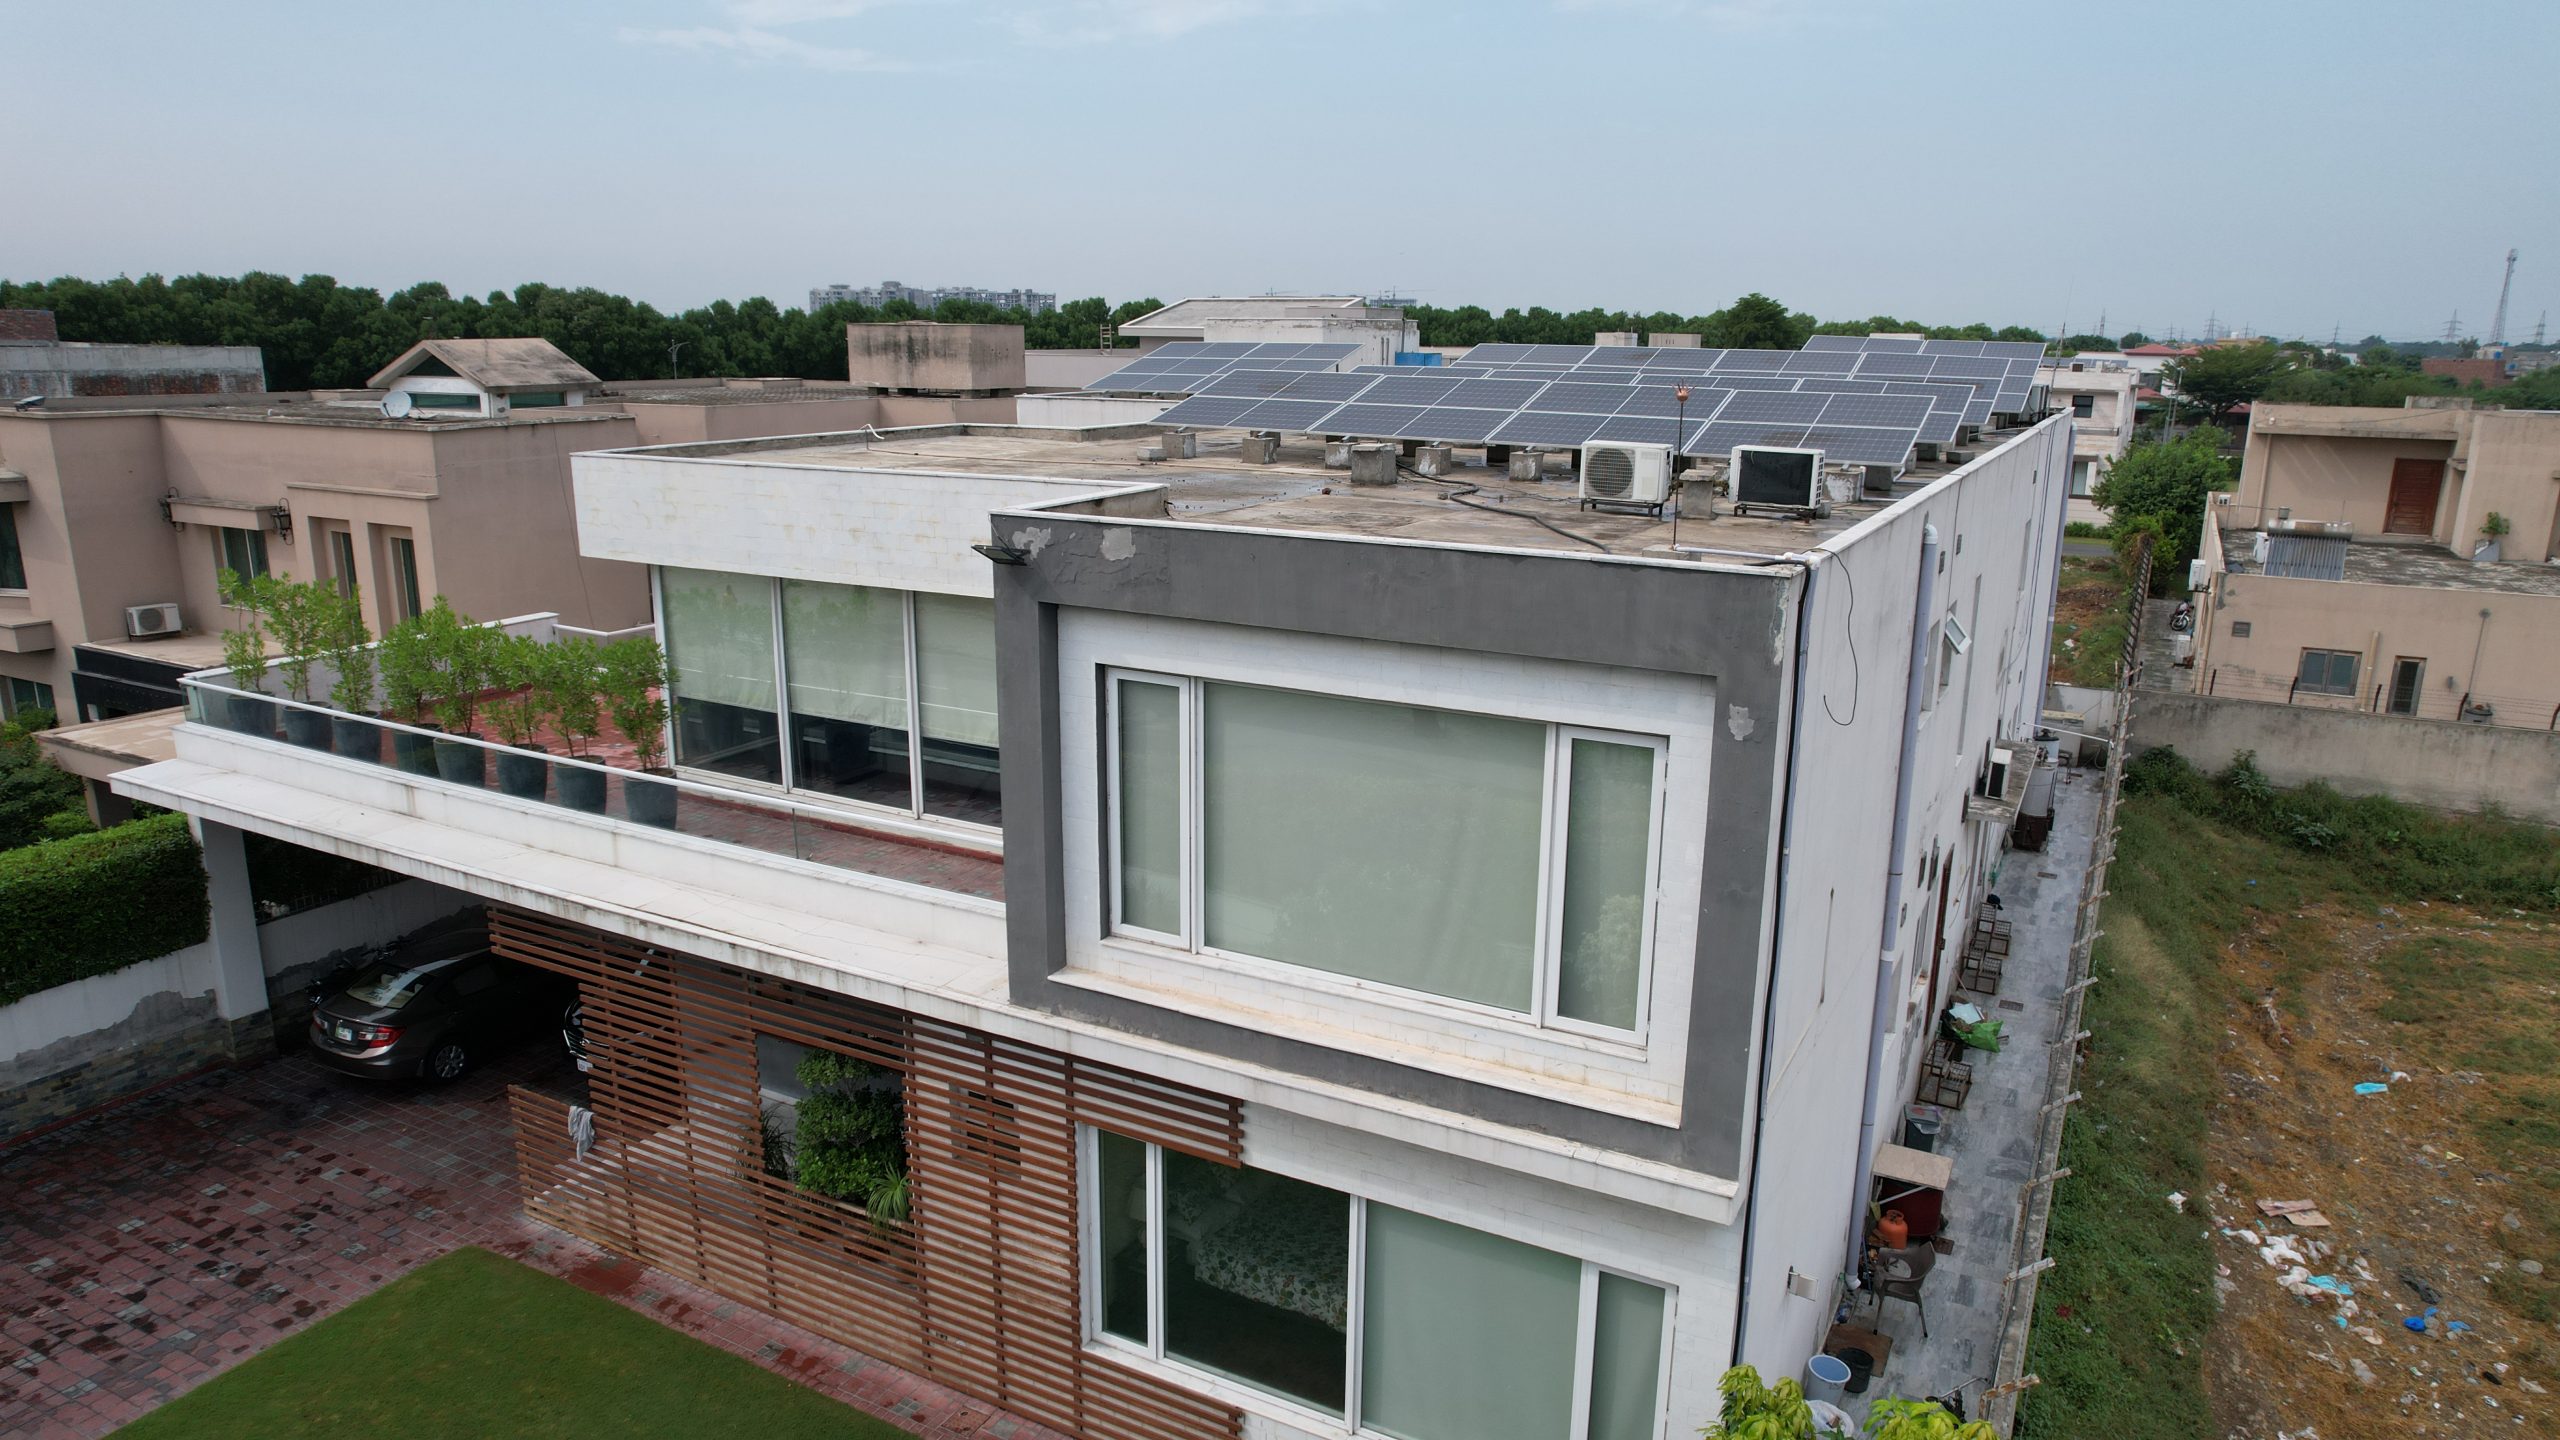
Step-by-Step Tutorial: How to Install Solar Panels in Your Home
Switching to solar energy is a sustainable and cost-effective way to power your home while reducing your carbon footprint. If you’re considering installing solar panels, follow this step-by-step tutorial to help guide you through the process.
Before You Begin:
- Assess your home and its surroundings: Determine if your roof receives ample sunlight throughout the day and if it’s structurally capable of supporting solar panels.
- Estimate your energy needs: Calculate your average energy consumption to determine how many solar panels you’ll require. You can find this information on your electricity bills.
- Check local regulations and permits: Research any specific rules, regulations, and permits required for installing solar panels in your area. Ensure you comply with all legal requirements.
Step 1: Design and Planning
- Consult with a professional: Seek guidance from a reputable solar panel installer or a licensed electrician. They will help you design a solar system that meets your energy needs and provide valuable insight into the installation process.
- Decide on panel type and placement: Choose between monocrystalline or polycrystalline panels based on your budget and requirements. Determine the optimal placement of the panels on your roof for maximum sun exposure.
- Calculate system size: Based on your energy needs and available roof space, calculate the number of panels required and their total wattage.
- Obtain necessary equipment: Purchase solar panels, mounting hardware, an inverter, batteries (if you choose an off-grid system), and other required electrical components.
Step 2: Installation
- Safety precautions: Put on appropriate safety gear, such as gloves, safety glasses, and a sturdy ladder. Ensure you work on a sunny day when the roof is dry.
- Mounting the panels: Install the mounting hardware on your roof following the manufacturer’s instructions. Securely attach the rack or rail system.
- Electrical wiring: Connect the panels using electrical wiring and follow the provided diagrams to ensure correct connections. Take proper safety precautions while working with electric wires.
- Install the inverter: Mount the inverter in a suitable location, preferably close to your main electrical panel. Connect it to the solar array and your home’s electrical system.
- Battery installation (if using an off-grid system): Install the batteries in a safe area, following the manufacturer’s instructions. Connect the batteries to the inverter and the solar panels.
- Grounding and safety checks: Properly ground the system to protect against electrical faults. Perform thorough safety checks to ensure everything is securely connected and functioning correctly.
Step 3: Inspection and Connection
- Schedule an inspection: Contact your local building department or relevant authority to schedule an inspection. They will verify compliance with safety and electrical codes.
- Utility connection: Coordinate with your utility company to connect your solar system to the power grid. They will install a bidirectional meter that tracks energy production and consumption.
- Test and commission: Once your solar system is approved and connected, the installer will test and commission the system to ensure optimal performance.
Step 4: Maintenance
- Regular cleaning: Periodically clean the solar panels to remove dust, leaves, and debris. Use a soft brush, water, and a mild detergent. Avoid harsh abrasives that could damage the panels.
- Monitor system performance: Keep track of your solar system’s performance using monitoring tools provided by your installer. Report any significant changes or issues to them promptly.
- Professional servicing: Schedule periodic maintenance inspections with your installer or hire a professional to ensure the system continues to function optimally.
Congratulations! You have successfully installed solar panels in your home. Enjoy savings on your energy bills while contributing to a greener and more sustainable future!
Note: This tutorial is a general guide and may vary depending on your specific circumstances. Always consult with professionals and follow local regulations.
For the latest DHA Lahore rates and guidance on which type suits your investment, join eProperty® WhatsApp Channel or contact Atif Iqbal – CEO eProperty® (21 years of trust).


